Meet the Team: Matthias Dauer, Senior Technical Artist for Hunt: Showdown
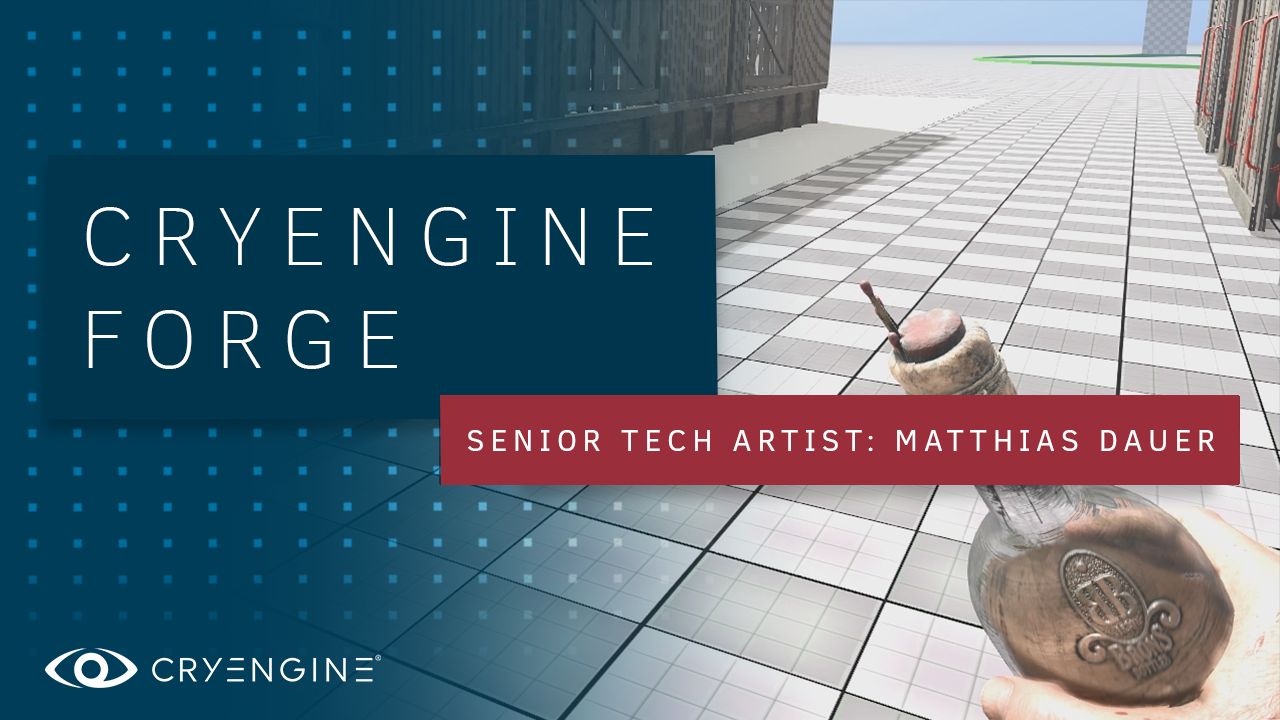
Matthias Dauer is a highly experienced artist working on Hunt: Showdown. Today, we’re talking to him about his background, what’s he’s working on, and he presents an excellent tutorial for artists working with CRYENGINE based on the Liquid Fire Bomb in Hunt.

Hey Matthias! Thanks for joining us. In fact, how did you join Crytek?
I’m from Bavaria/Franconia, but I was living in Berlin for 11 years before joining Crytek in Frankfurt. My hometown is actually pretty close to Coburg, where Crytek has its roots. The first project I worked on at Crytek was Robinson: The Journey. Prior to Crytek I had been making medieval fantasy games for years, so it was super exciting to create dinosaurs… in space... in VR! After working on Robinson and The Climb, I moved over to Hunt: Showdown.
What are you working on at the moment?
My main focus is character rigging and the development of rigging and animation tools. I’m responsible for the creation of animation rigs and the technical setup of the weapons in Hunt. As a technical artist I act as a link between different departments. I work closely together with our weapon artists and the animation department. The weapon artists do the modeling and texturing of all the weapons and items in Hunt. I create the animation rig and make sure that all the relevant parts of the weapon can be moved correctly so the animators have all the controls they need.

You were involved in creating Hunt’s Liquid Fire Bomb. What was your goal with that weapon?
The Liquid Fire Bomb is a bottle filled with a flammable liquid, like a Molotov cocktail. It’s popular with players and it’s very effective against enemy groups, or even heavy grunts and bosses. The weapon artist, Alexander Asmus, knew that we may not have the resources to create special liquid effects, so he covered up the liquid inside the bottle as much as possible. In the first version the glass was almost completely opaque. There was a sticker on the front of the bottle and you couldn’t really see what’s going on inside. Then he asked me if we can create some sort of physics/dynamics simulation for the liquid inside the bottle.
I did some quick tests in Maya and CRYENGINE which looked pretty promising. In the end we were so happy with the result that instead of trying to cover up the liquid, Alexander wanted to expose it even more. He removed the sticker from the front of the bottle and made the glass more transparent. Now we use different colors for the liquid to visualize different kinds of bombs and bottles in different states, like burning, explosive, burning in water, and so on.
What was the concept behind the solution?
Using some kind of complex liquid simulation like particle-based simulations or complex shaders wasn’t an option, because of performance and resource boundaries. I was looking for an efficient and solid solution for a nice visual fake of liquid motion inside the bottle.
I decided to go for the classic approach of using simple joint deformations combined with physicalized joints in CRYENGINE. The joints are controlled by Dynamics Pendulum modifiers. They react to gravity and the player’s movement in the game and give you this nice interactive motion. The great thing about Dynamics Pendulum modifiers is that the simulation is very solid and super easy to tweak.
There is one joint in the middle which controls the overall orientation of the liquid’s surface plane. Four extra child joints deform the surface plane to create this nice wavy swashing motion.
How do you create this effect?
- Create a joint in the middle of the surface plane and four child joints, left, right, front, and back.

- Skin the surface plane to those four child joints. Then skin the opposite site of the plane to the respective joint.


- Create a Pendulum Modifier for the surface joint in the middle. This controls the overall rotation of the surface.

- Then create a Pendulum Modifier for each of the four child joints. Activate “Limit Plane” Positive and Negative so the pendulum can swing only on one axis and then you have it.

Thanks Matthias!
If you’re interested in more tutorials and advice straight from the studio, why not check out our feature on how to work with particles in CRYENGINE with Alexander Weiß or our Meet The Team feature with Michael Bosschert who explains how to get up and running with C# quickly. Looking for a new challenge? We’re looking for new talent across all disciplines at Crytek, so check out our careers page. As ever, we look forward to your feedback on Discord, the forums, and on our Facebook, and Twitter channels.
- Your CRYENGINE Team


