
CRYENGINE Summer Academy: Creating a Character
Check out our step-by-step guide to creating a character from scratch in a bonus tutorial blog as part of our CRYENGINE Summer Academy
Today’s tutorial blog is the a recap of helpful tutorials letting you take the next step in the CRYENGINE Summer Academy, our series which shows you the fundamentals of game development, using a platforming game called Breeze as a learning aid. This series is for both newcomers to CRYENGINE and those with some experience of game dev. If you’re new to the series, begin with episode 1, or check out all of the episodes listed towards the end of the blog.
Overview – Character Creation Pipeline
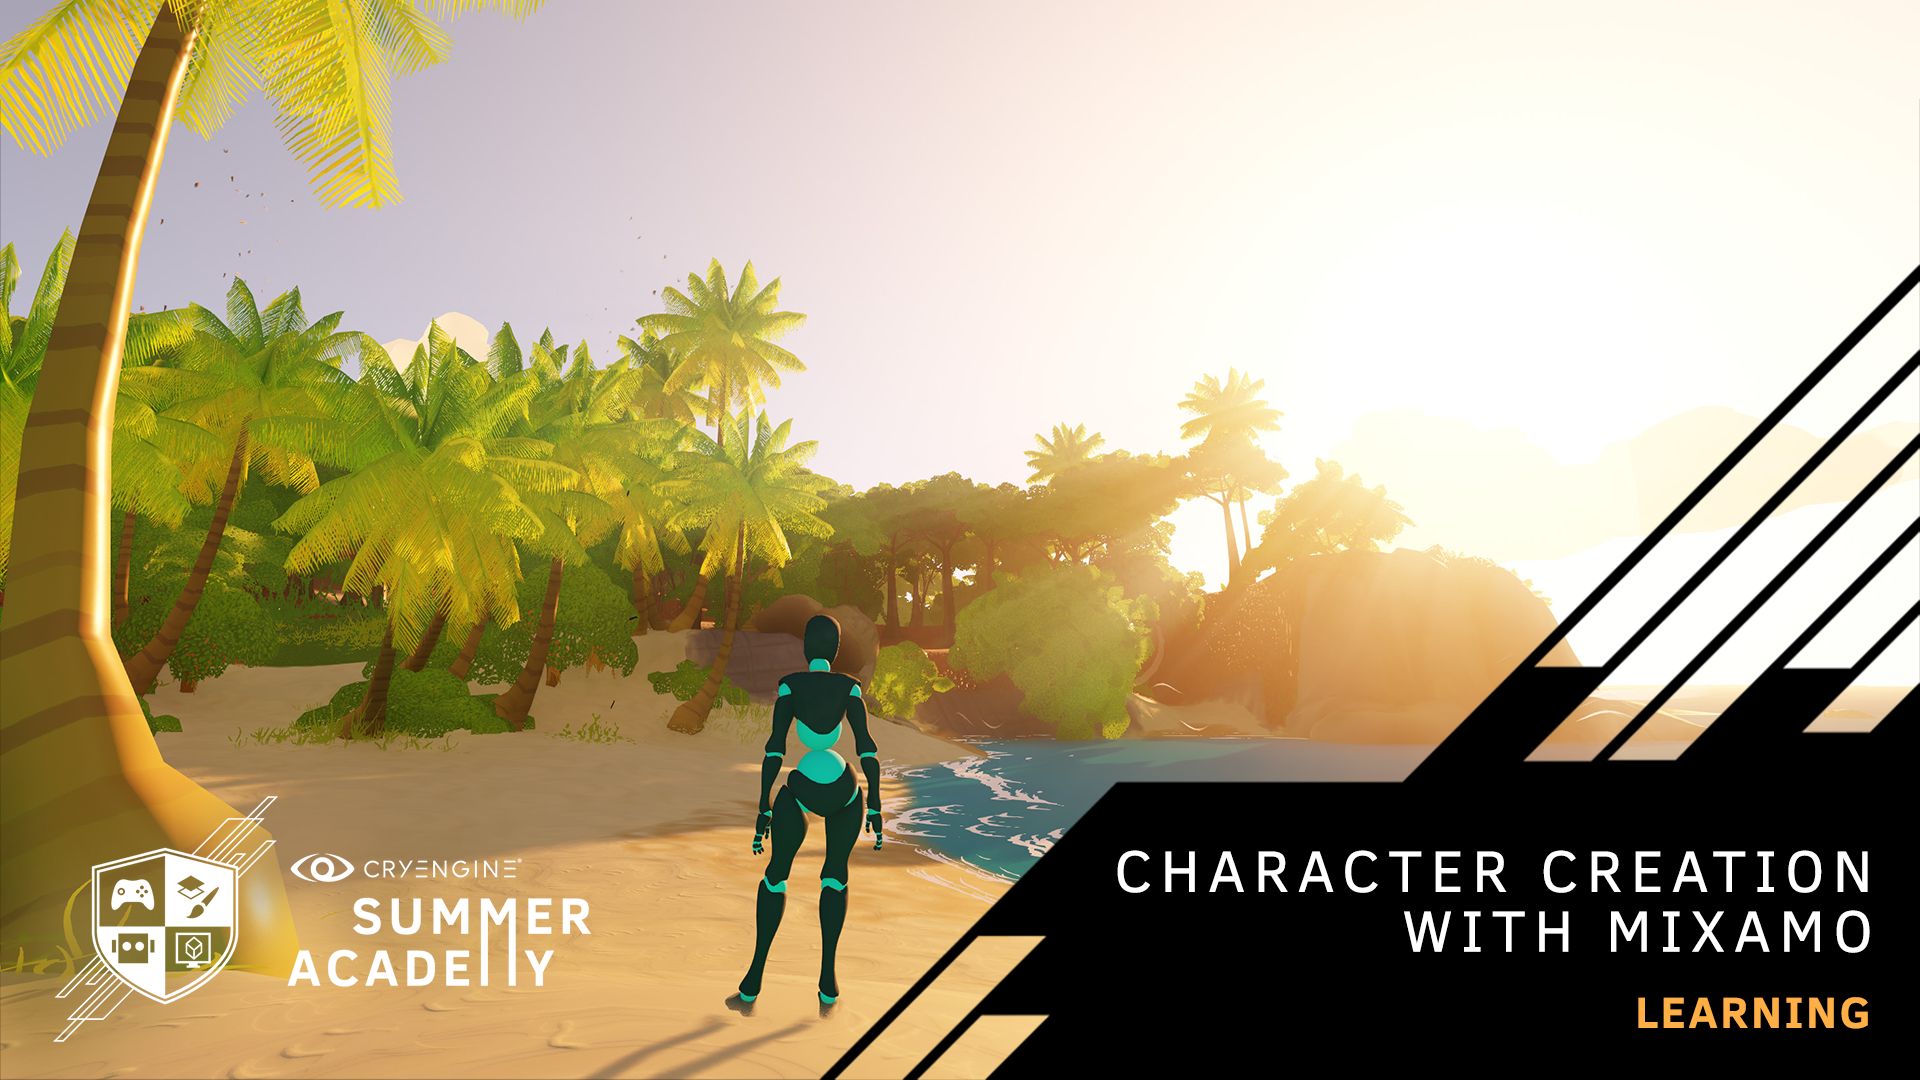
This written tutorial will take you through all the steps you need to create a character for your game from the very beginning. We will use Mixamo and links to our previous tutorials, which will guide you through the entire process. You can follow along with this guide and bookmark it as a future reference for your projects. We’re going to follow the same steps we used to create the character that you can see in Breeze, so, without further ado, let’s go!
Download a character and animations
First, we need a character, so head to Mixamo and download a sample character. You can use any character you like, but we chose the charming robot character you can see in Breeze.
You also want to download some animations for your character from Mixamo to use in CRYENGINE.
Select the following animations:
- Falling Idle
- Idle
- Jumping
- Left Strafe Walk
- Right Strafe Walk
- Left Strafe Run
- Right Strafe Run
- Left Turn 90 degrees
- Right Turn 90 degrees
- Running
- Slow Jog Backwards
- Walking
There are plenty of other animations available that you can also download and use, but these provide us with the minimum basic locomotion we require for Breeze.
Reorient animations and add a root bone
Now we need to reorient the animations and add a root bone, so CRYENGINE can use the animations and work with our robot as a playable character.
We know that our users like to use different kinds of software, so we have three different tutorials for 3DS Max, Maya, and Blender showing you how to complete this process for each. If you don’t have a chosen application yet, the links below will take you to the website where you can download the software you wish to use:
The chances are that you already have your favorite, but if not, Blender is completely free, so it is a good place to start.
So, once you have your software, now watch the corresponding step-by-step tutorial, which will show you how to reorient the project and animations, ready for CRYENGINE:
Export to CRYENGINE
Next, you’ll need to export those files to CRYENGINE. The tutorial below will show you how to do this for 3DS Max, Maya, and Blender:
Create locomotion and blendspaces
Now we want to make our reoriented and exported character moveable! To understand how to create locomotion and use blendspaces, check out this handy tutorial:
Mannequin setup
Once we have locomotion set up, now we need to set up a mannequin too. This video will show you exactly how to do it:
Make your character playable
And finally, we want to make our playable character. Follow along with this tutorial, and it will be so:
And now you’ve been through all the steps to create your new playable character!
Don’t worry if some of these steps seem complicated. Once you’ve done it a few times, it becomes a swift process and, soon, second nature.
Next steps: Create a character controller
Now you have a playable character, check out how to create a character controller by watching our in-depth tutorial delivered by Support Engineer Joshua Nuttall:
CRYENGINE Summer Academy listings
Check out all of the entries in our CRYENGINE Summer Academy series here:
Episode 1: Course introduction, plus basic game dev techniques, including making a character move.
Episode 2: Use the Cry Designer tool to quickly prototype levels and game mechanics.
Episode 3: Create an island map in minutes with procedural tools.
Episode 4: Low poly assets and environment design with Principal 3D Environment Artist Tom Deerberg.
Episode 5: Coding in C++ - Creating a player controller with Support Engineer Joshua Nuttall
Episode 6: Coding in C++ - Joshua shows you how to implement mechanics like falling platforms.
Episode 6 A: Coding in C++ - Learn how to create bouncing platforms for your players.
Episode 6 B: Coding in C++ - Create a pickup & collection Zone in your levels.
In addition to hosting CRYENGINE Summer Academy episodes, our YouTube channel is home to a wide range of content, including tutorials covering all aspects of the engine and game design. Pick up tips and tricks, ask questions, and more by joining our community and the CRYENGINE development team over on our official CRYENGINE Discord channel. You can leave us feedback about our engine and get social in the comments, on the forum, or via Facebook and Twitter.
If you find a bug in the engine, please report it directly on GitHub, which helps us to process the issue quickly and efficiently. Want to show your love for CRYENGINE? Pick up merch over on the official online Crytek Store.
We're always looking for new team members. At Crytek, we value diversity, and we actively encourage people from all kinds of backgrounds and experience levels to apply to our open positions, so join us over at LinkedIn and check out our careers page.