A Deer Project - Adding a jump animation with Mannequin
Dive deep into the Mannequin Editor and learn how to add and tweak animations in the second part of our tutorial series.
Whether you’re gearing up for Global Game Jam taking place January 25-27 2019, which CRYENGINE is proud to be a sponsor of, or you have some experience with our engine but want to expand your skills beyond our absolute beginner’s Flappy Boid course, we’ve got a great new tutorial for you.
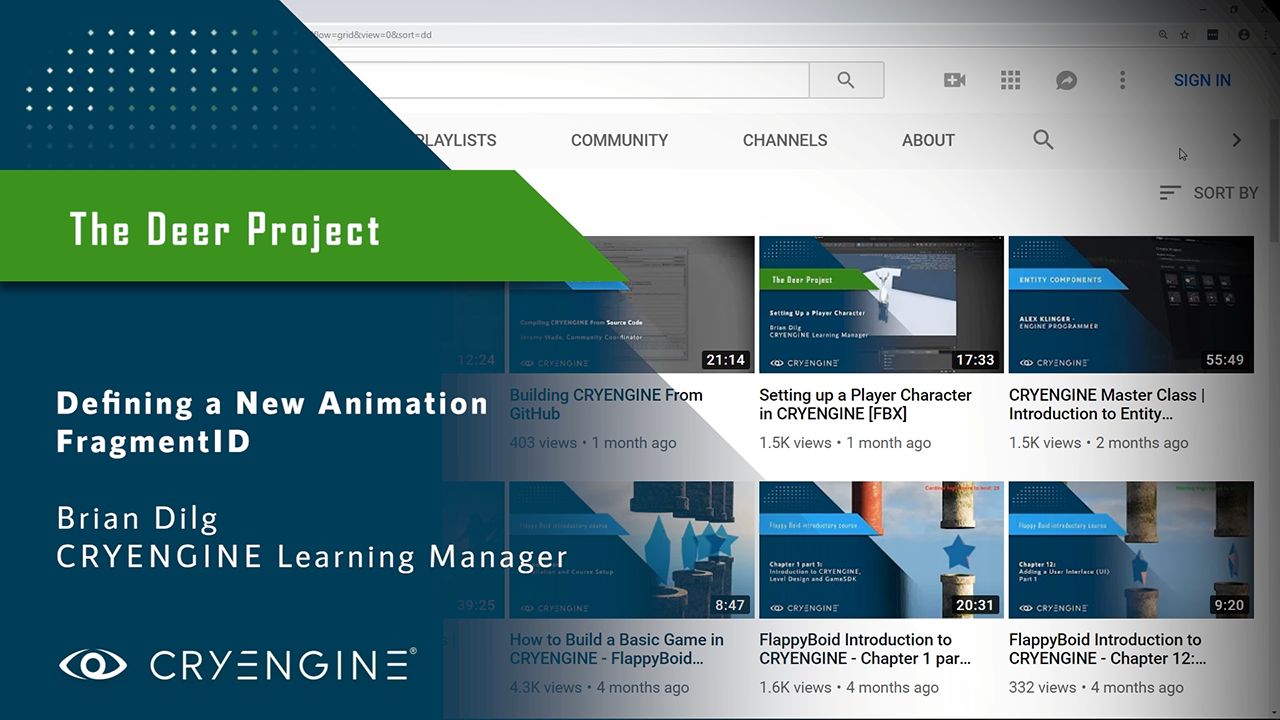
Today’s release is the next video in a mini-series from Learning Manager Brian Dilg. If you didn’t catch the first lesson in the series, head here to take a short tutorial and get up to speed. The first video shows you how to set up a player character and covers importing a character model, importing and adjusting animations, adding a skeleton, changing animations, and testing the character.
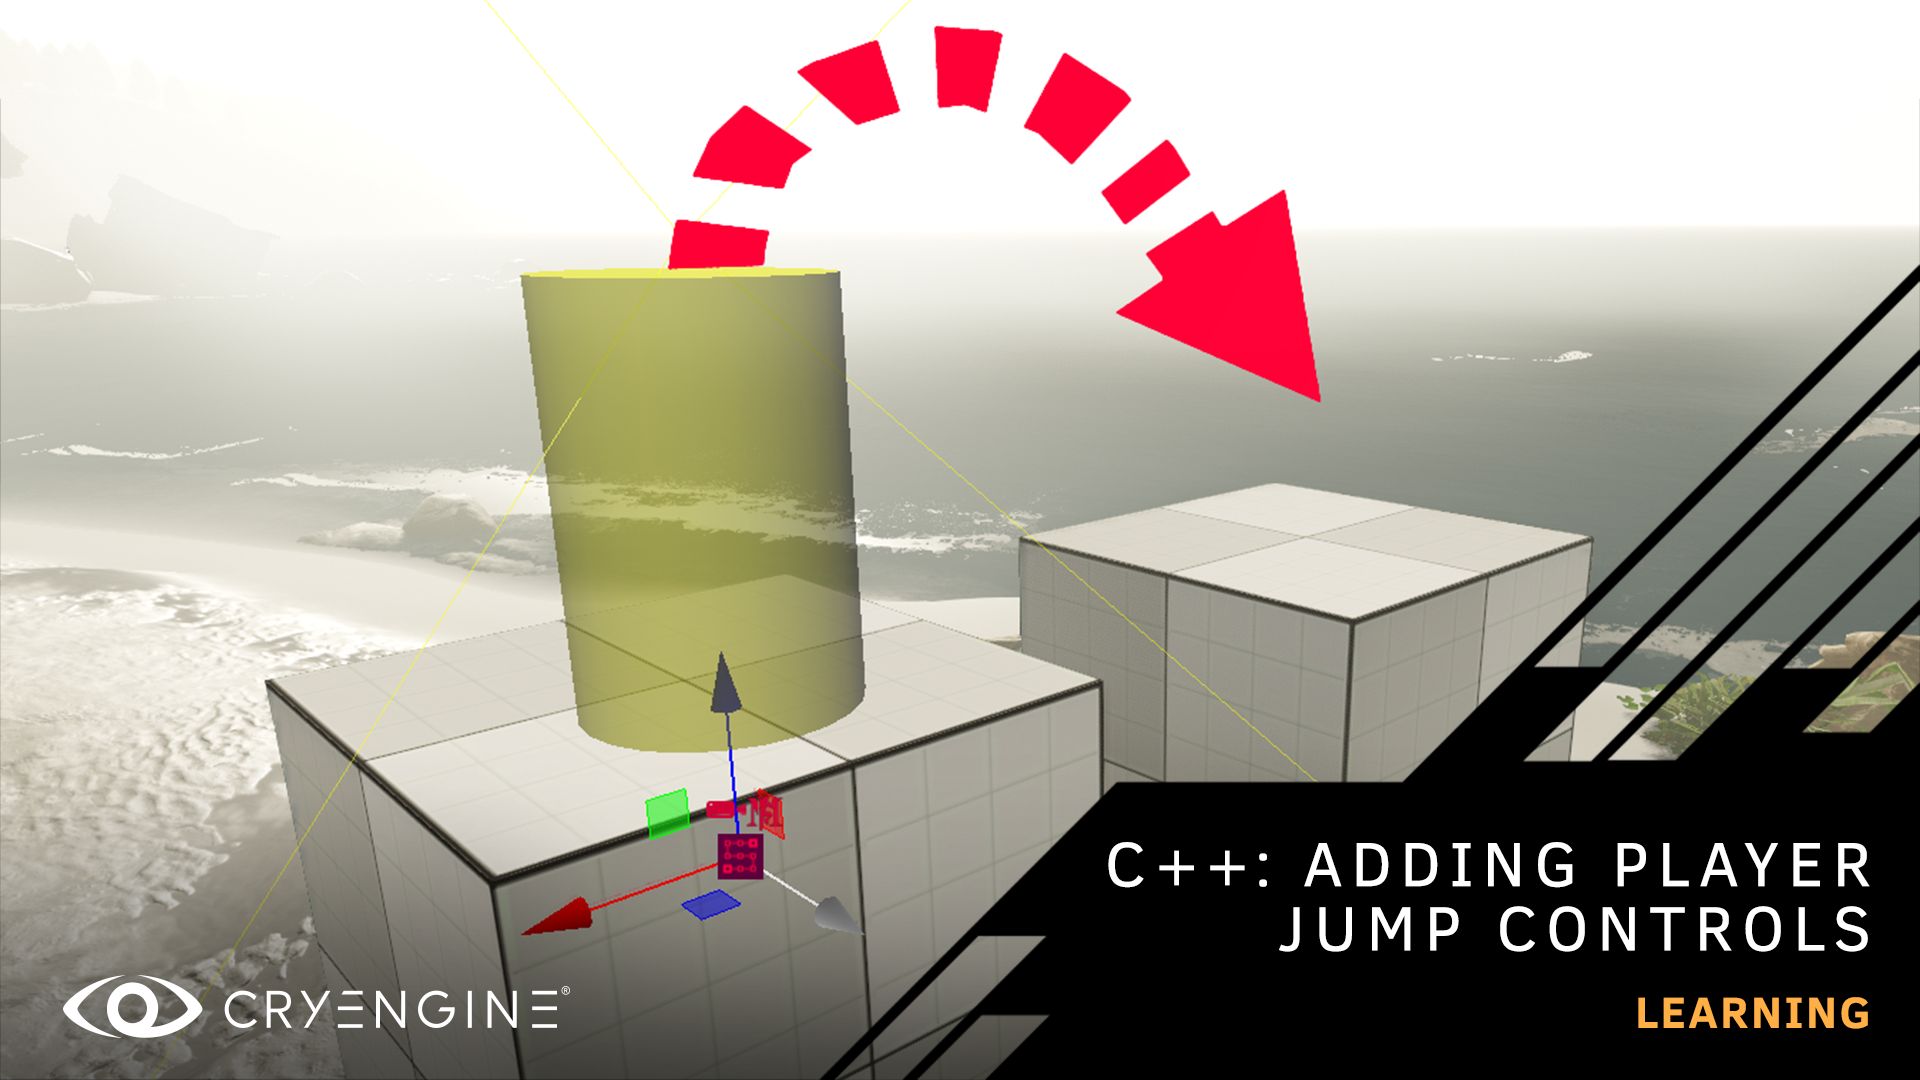
The second video in the series digs deep into the Mannequin Editor and the Mannequin system as a whole. You’ll be shown how to set up a new animation fragment and animate the character included in the C++ third-person template. The video is a step-by-step guide which will take you through the setup process of the Mannequin system for the new animation and assigning the new animation fragment for jumping, using logic in the code. The Mannequin Editor will be used to loop and fine-tune the transitions between the different animations.
The tutorial uses a third-person game as an example, but will work equally well with a first-person game design. You can access the source assets for this tutorial, alongside written documentation, here.
Techniques covered in the course:
- Assigning animations to be played on the character
- Tuning transitions
- Defining the logic and hotkey for the new animation
- Testing the animations
The course is straightforward but it isn’t for complete newcomers to CRYENGINE. If you’re looking to start from scratch, check out our Flappy Boid course first. This series is designed for those who have completed Flappy Boid or have some existing game dev knowledge, perhaps from another engine.

The tutorial is based on templates provided with the engine, and uses the Mannequin Editor, Microsoft Visual Studio® (a free Community version is available) and any .xml editor, like Notepad++. To follow the course exactly, head over to the CRYENGINE documentation portal to get the source assets used in this tutorial. Of course, you can use the steps explained in the tutorial with a custom character and custom animations as you wish. We have also updated the Deer Project Sample showcase level on the CRYENGINE Marketplace, which you can download and try out for yourself. This level shows the final results of this tutorial series so far.
We hope you find this tutorial useful and the next video in the series will be coming soon. We look forward to your feedback, and if you have a suggestion for a topic or area you’d like to see covered in future, let us know in the comments, on the forum, and via Facebook and Twitter. Don’t forget to join the community and our CRYENGINE development team over on our official Discord channel.


