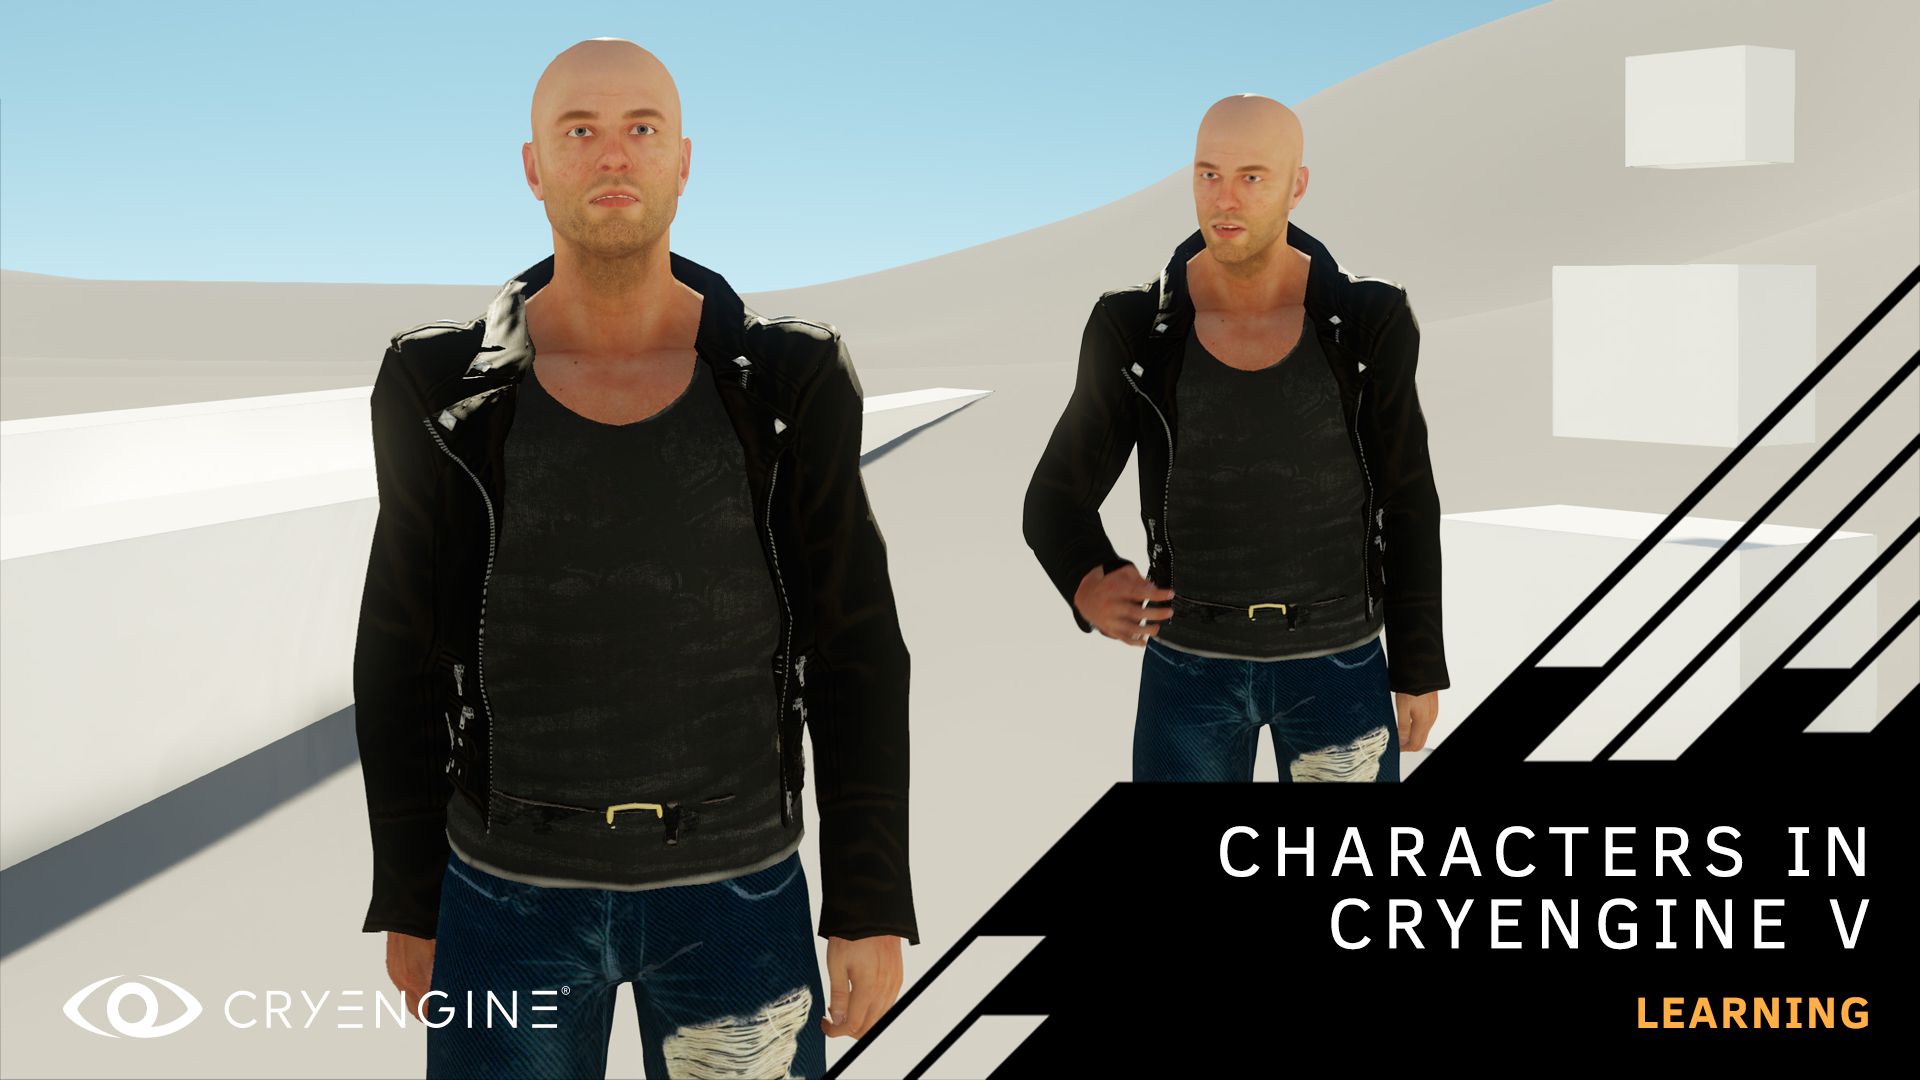

Master character animation in CRYENGINE V
Move your animation skills in CRYENGINE up to a new level with our step-by-step tutorials, hosted by our Junior Technical Designer Roman Perezogin.
The official CRYENGINE YouTube channel is the place to go for tutorials covering all aspects of game design and development with CRYENGINE. Today, we’re highlighting a group of recent CRYENGINE V tutorials, hosted by our very own Roman Perezogin, which will show you proven-in-production techniques that will equip you with practical character animation workflows for our engine.
To get the most out of these tutorials, you should be familiar with the basics of game development and using CRYENGINE. If you are completely new to CRYENGINE, we recommend that you download our beginner’s course or watch the tutorial on our YouTube channel.
CRYENGINE Mini Feature: Ragdoll Components
In just under five minutes, Roman will show you how to set up a character for ragdoll simulations. You’ll also learn how to use the new Ragdoll Component, which was introduced in CRYENGINE 5.6.0, in this bite-sized tutorial.
Creating animated characters using Character Creator 3 and iClone 7
Roman takes you step-by-step through the process of creating a character and then importing it into CRYENGINE by using Character Creator 3 and iClone 7 from Reallusion and Adobe Photoshop.
Character Creator 3 is a powerful tool which you can use to create high-quality, realistic characters and assets, including a rich feature set which allows you to edit almost everything you create, and even add your own textures with Substance. iClone 7 is a highly-intuitive, real-time animation application that allows you to easily create sequences thanks to its timeline and animation set up. You can download trial versions of both applications from https://www.reallusion.com/.
This tutorial uses both applications to create a character and add facial animation to it, then demonstrates how to import the character into a CRYENGINE level and adjust settings with the material editor. It also shows you how to use Adobe Photoshop, the ubiquitous graphics editor available with a free trial from https://www.adobe.com/, to adjust shaders and the parameters of various character materials.
Setting up character attachments
Learn the process of using the attachment system in CRYENGINE’s character tool. Roman demonstrates how the character pipeline uses an attachment system to customize the appearance of a character model in a variety of ways. This allows you to apply different skins and accessories to characters so you can create unique looks.
The tutorial follows on from Roman’s previous tutorial in which he demonstrates how to create a character and import it into CRYENGINE by using Character Creator 3 and iClone. We recommend that you watch that tutorial first.
ICYMI, we also have a handy round-up of a range of physics tutorials hosted by our Learning Manager, Brian Dilg. Learn how to create a trampoline from scratch, giving you an understanding of physics concepts that can be applied across a range of different projects, and master the use of constraints, from the fundamental principles behind the system to creating gears and complex functions like barrel rolls.
If you’re looking for more tutorials, don’t forget to subscribe to our YouTube channel. If you have suggestions for tutorials, let us know on the forum, or via Facebook and Twitter. You can ask questions, pick up tips and tricks, and more by joining our community and the CRYENGINE development team over on our official CRYENGINE Discord channel. If you find a bug in the engine, please report it directly on GitHub, which helps us to process the issue quickly and efficiently.
Are you looking for your next career move? At Crytek, we value diversity, and we actively encourage people from all kinds of backgrounds and experience levels to apply to our open positions, so join us over at LinkedIn and check out our careers page.